How receipts and printing work
Printing happens in two stages, on purpose. Today (stage 1) the till prints through the browser and the OS print manager — a narrow receipt-shaped page opens and prints to whatever printer the operating system knows about. Stage 2 is the device bridge: silent thermal printing (no dialog), the cutter, the cash-drawer kick, and per-station printer routing. Everything below works now, in stage 1.
The receipt itself
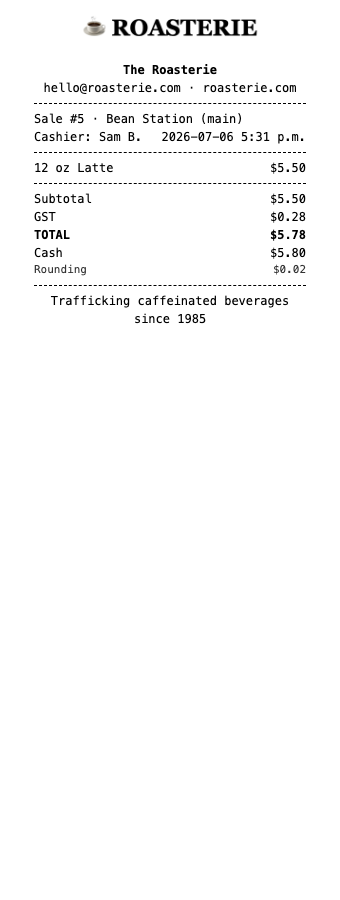
Top to bottom: the logo, the store identity block (name, address, GST registration number), each line as it was sold (weights, modifiers, discounts), the GST line, any cash-rounding line, change due — and your own notes above and below. Reprints are stamped DUPLICATE across the top and are permission-gated, so an original can't quietly be printed twice.
What the cashier sees
The Sale complete screen offers the receipt choice with the station's default already highlighted — an "always print" station preselects Print receipt, an "ask" station preselects No receipt. Done! applies the highlighted choice.
Per station (Setup → Stations & Layouts) you set the receipt behaviour (ask / never / always print, with a copy count), the credit-card slip (ask / never / automatic on card payments), and when the drawer kicks open — none / on cash / on everything. The kick itself waits for the bridge.
Logo and notes
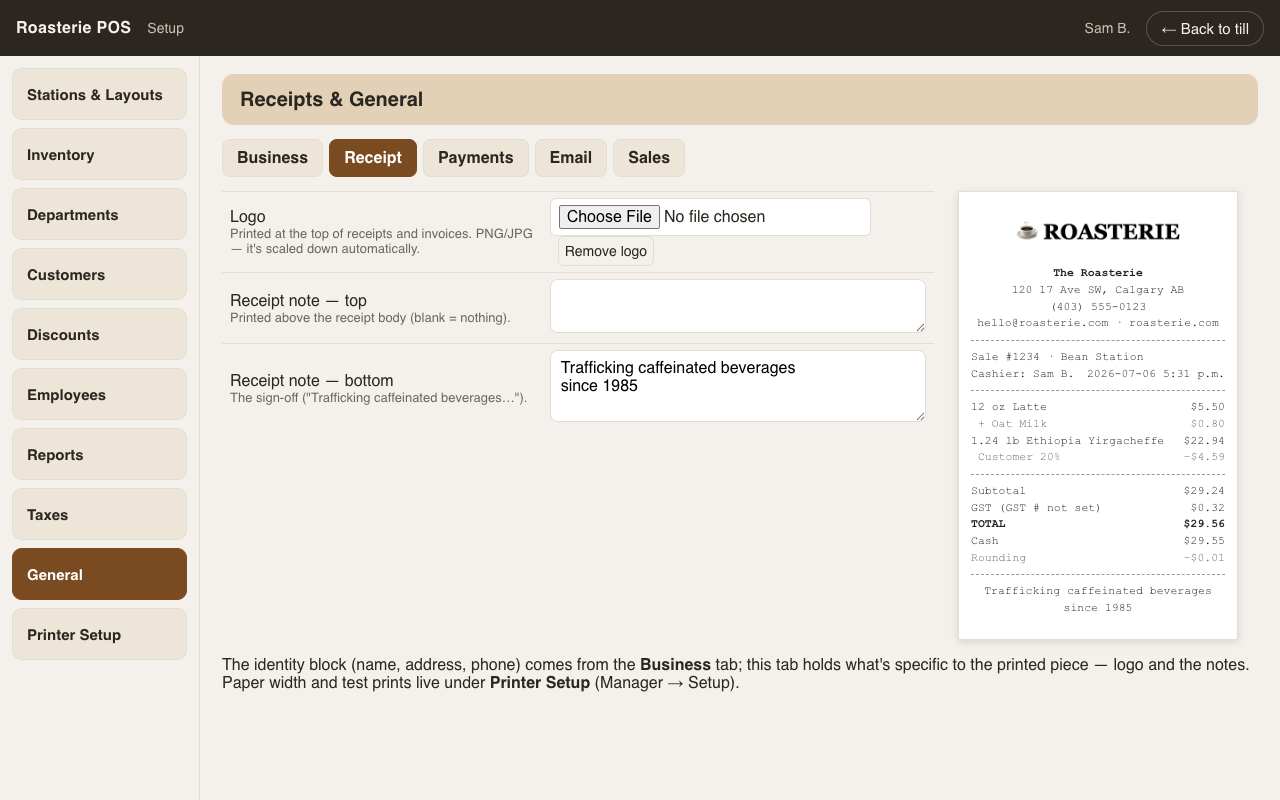
Setup → General → Receipt: upload the logo (it's scaled down automatically), type the header and footer notes, and watch the live preview — what you see is the thermal layout that prints.
Printer Setup
Setup → Printer Setup (its own section, also reachable from the Manager portal):
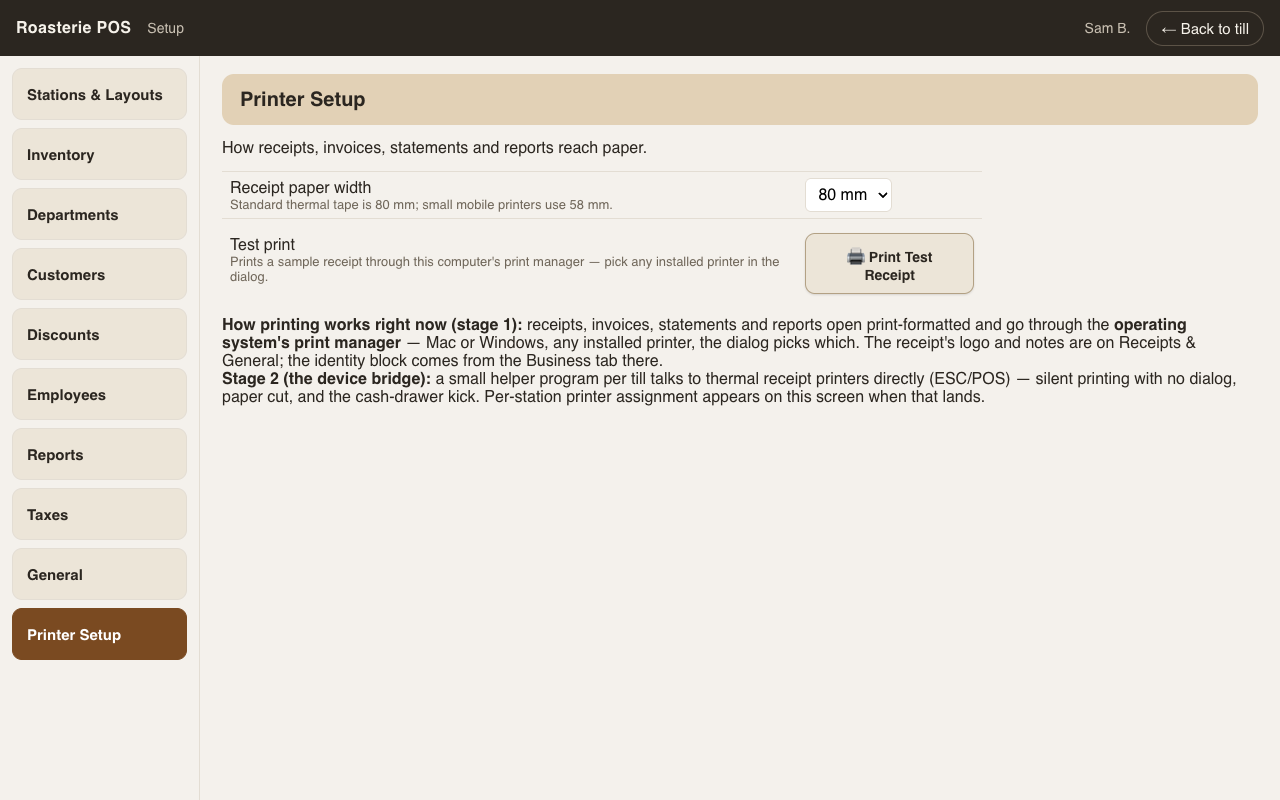
Pick the paper width (80 mm or 58 mm) and hit Print Test Receipt to prove the chain works — it uses your real logo, identity block, and notes.
Waiting for the bridge
Print Last Receipt, Print Gift Receipt, the drawer kick, silent (no-dialog) printing, and routing different stations to different printers all arrive with the device bridge. The buttons already exist and say so when pressed.